Convert a Storyboard lifecycle to a modern SwiftUI app
You accidentally chose a Storyboard-based interface lifecycle for a new app, thinking that you might need full control over your windows with the good old NSWindowController and NSWindows.
You then added some logic here and there, and now you want to write your UI in SwiftUI. But how?
We'll look at two different ways of doing this
- Option 1:
NSHostingController. Adding SwiftUI to the Storyboard. This lets you run Storyboard and SwiftUI in the same project. - Option 2: The easy way: Ditching the Storyboard completely. Completely replace the interface lifecycle of your app to SwiftUI, removing the Storyboard completely.
There is an option I'm not going to discuss here, as it is well-documented everywhere else: The Hosting View. This lets you embed SwiftUI inside an NSView. In this post, we focus on the big picture where we more or less commit the whole or part of the app to the wondrous world of SwiftUI.
No matter which turn you take, you'll obviously need a SwiftUI view. So let's start there.
Create your SwiftUI view
Add a new file to your project and select SwiftUI View as its type. You get something like this:
import SwiftUI

struct ContentView: View {
    var body: some View {
        Text("Hello from SwiftUI!")
    }
}Option 1: NSHostingController
A quick way to dip your toes in SwiftUI land is to add a hosting controller to your storyboard. In our case, we'll simply replace the NSViewController. This works in the typical Storyboard fashion; create a subclass, and tell the storyboard about it.
Subclass HostingController
- Create a
HostingViewController.swiftfile and - subclass
NSHostingController, and give pass in your ContentView as its type - Override the
coderinit and pass in a newContentView
You should end up with something like this
import SwiftUI

class HostingViewController : NSHostingController<ContentView> {
    required init?(coder: NSCoder) {
        super.init(coder: coder, rootView: ContentView())
    }
}Add A Hosting View Controller to the Storyboard
Go to the storyboard, smash ⇧⌘L, then search for Hosting View Controller and add one to your storyboard.
Then ⌃+drag from the Window Controller's small blue icon to the Hosting Controller, and choose Window Contents.
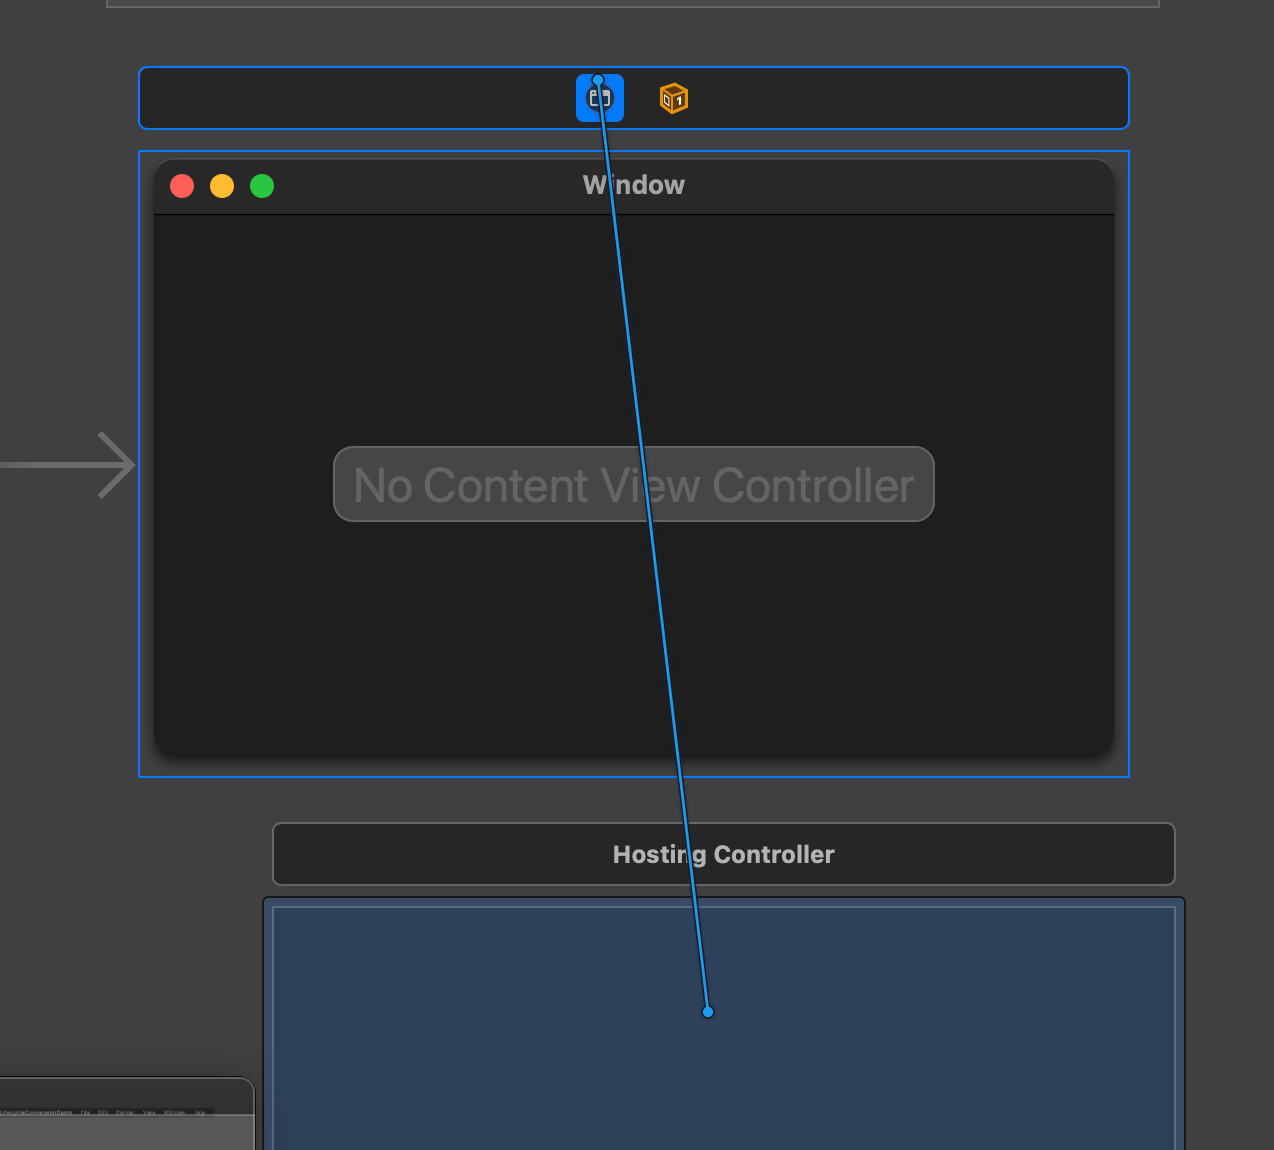
Next, you'll add your subclass to the Hosting Controller.

Let's try it out
If you hit Run now, it compiles just fine. The app appears in the dock just fine, but no window appears! Not fine. Let's fix it
It turns out that the Hosting Controller is a bit picky when it comes to sizing. Normally, if you compile a view like the one above, you'll just get an awkwardly small window, just big enough to fit the text. But this shows nothing. So let's help it along by adding a size to the ContentView
struct ContentView: View {
    var body: some View {
        VStack {
            Text("Hello from SwiftUI!")
    }
        .frame(
            minWidth: 100,
            maxWidth: .infinity,
            minHeight: 100,
            maxHeight: .infinity)
    }
}Hit run, and we get a nice little resizable window. It will grow to fit as you add more content.
Trouble in paradise
But here's the problem: Let's say we want to add a toolbar to our window. The ease of this is one of SwiftUI's big luxuries, so let's use it!
 Text("Hello from SwiftUI!")
                .toolbar {
                    ToolbarItem {
                        Button("Help") { }
                    }
                }
Hit run and look at the window. No toolbar! I haven't figured out a way to add a toolbar to the window of an NSHostingController. And it kind of makes sense. Apple may have this on a P2 or P3 ticket somewhere (basically meaning that this will never get implemented). So let's grab the big hammer and get it over with.
Option 2: Ditching the Storyboard completely
Let's go all in. Our job now is to tell the compiler that we no longer care about our old friend Storyboard.
In AppDelegate
Since 2020, new projects got a @main attribute added to AppDelegate. Before that, it was @NSApplicationMain. Both have one job - tell the compiler where our app begins. So let's comment it out!
//@main // <-- commented out!
class AppDelegate: NSObject, NSApplicationDelegate {
If we hit run now, we'll witness a truly confused and hopeless compiler. It's basically trying to run main but it can't find it, and then it crashes.
Create a SwiftUI-based App
Create a new file. We'll call it MyApp.swift, but you can call it anything. The same goes for the struct in the code below
import SwiftUI

@main // <-- there's our new @main
struct MyApp: App {
    var body: some Scene {
        WindowGroup {
            ContentView()
        }
    }
}
Let's try it out
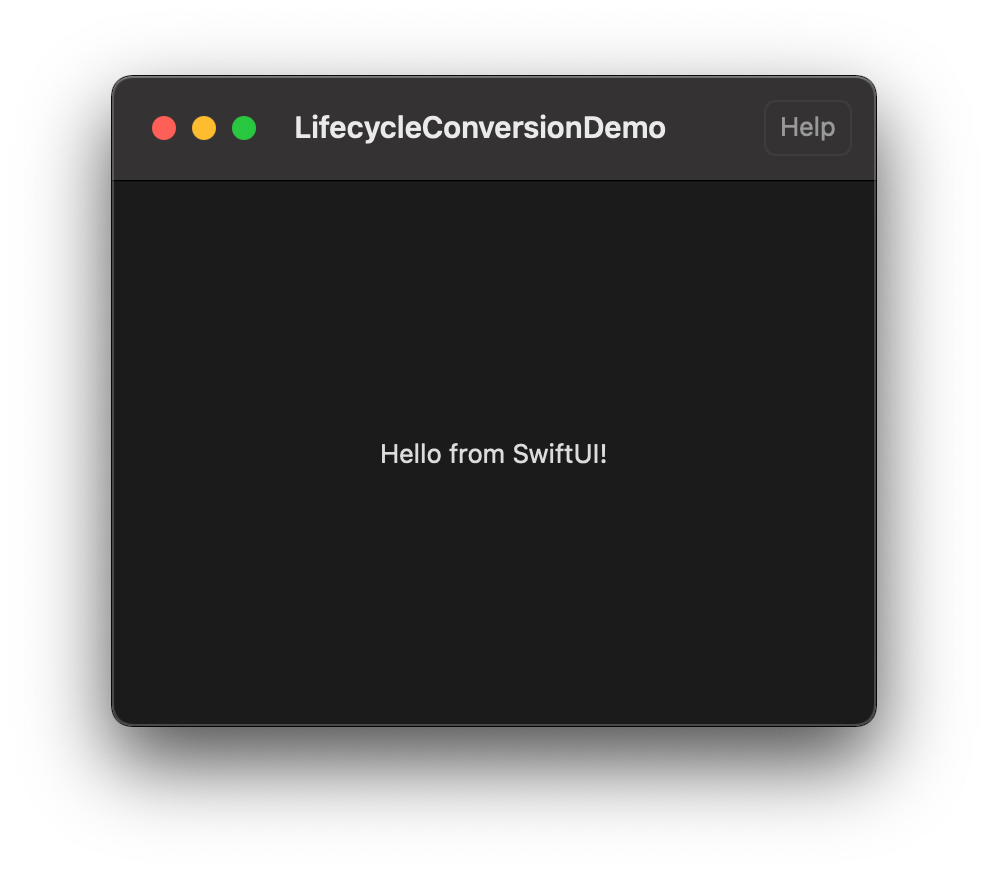
Hit Run and admire your new pure SwiftUI app with a vibrant and modern toolbar!

Cleaning up
Once you're done with that 2013 celebration Amarone, it's time to clean up. Here's what you can now safely delete and remove
- The
main.storyboardfile - The
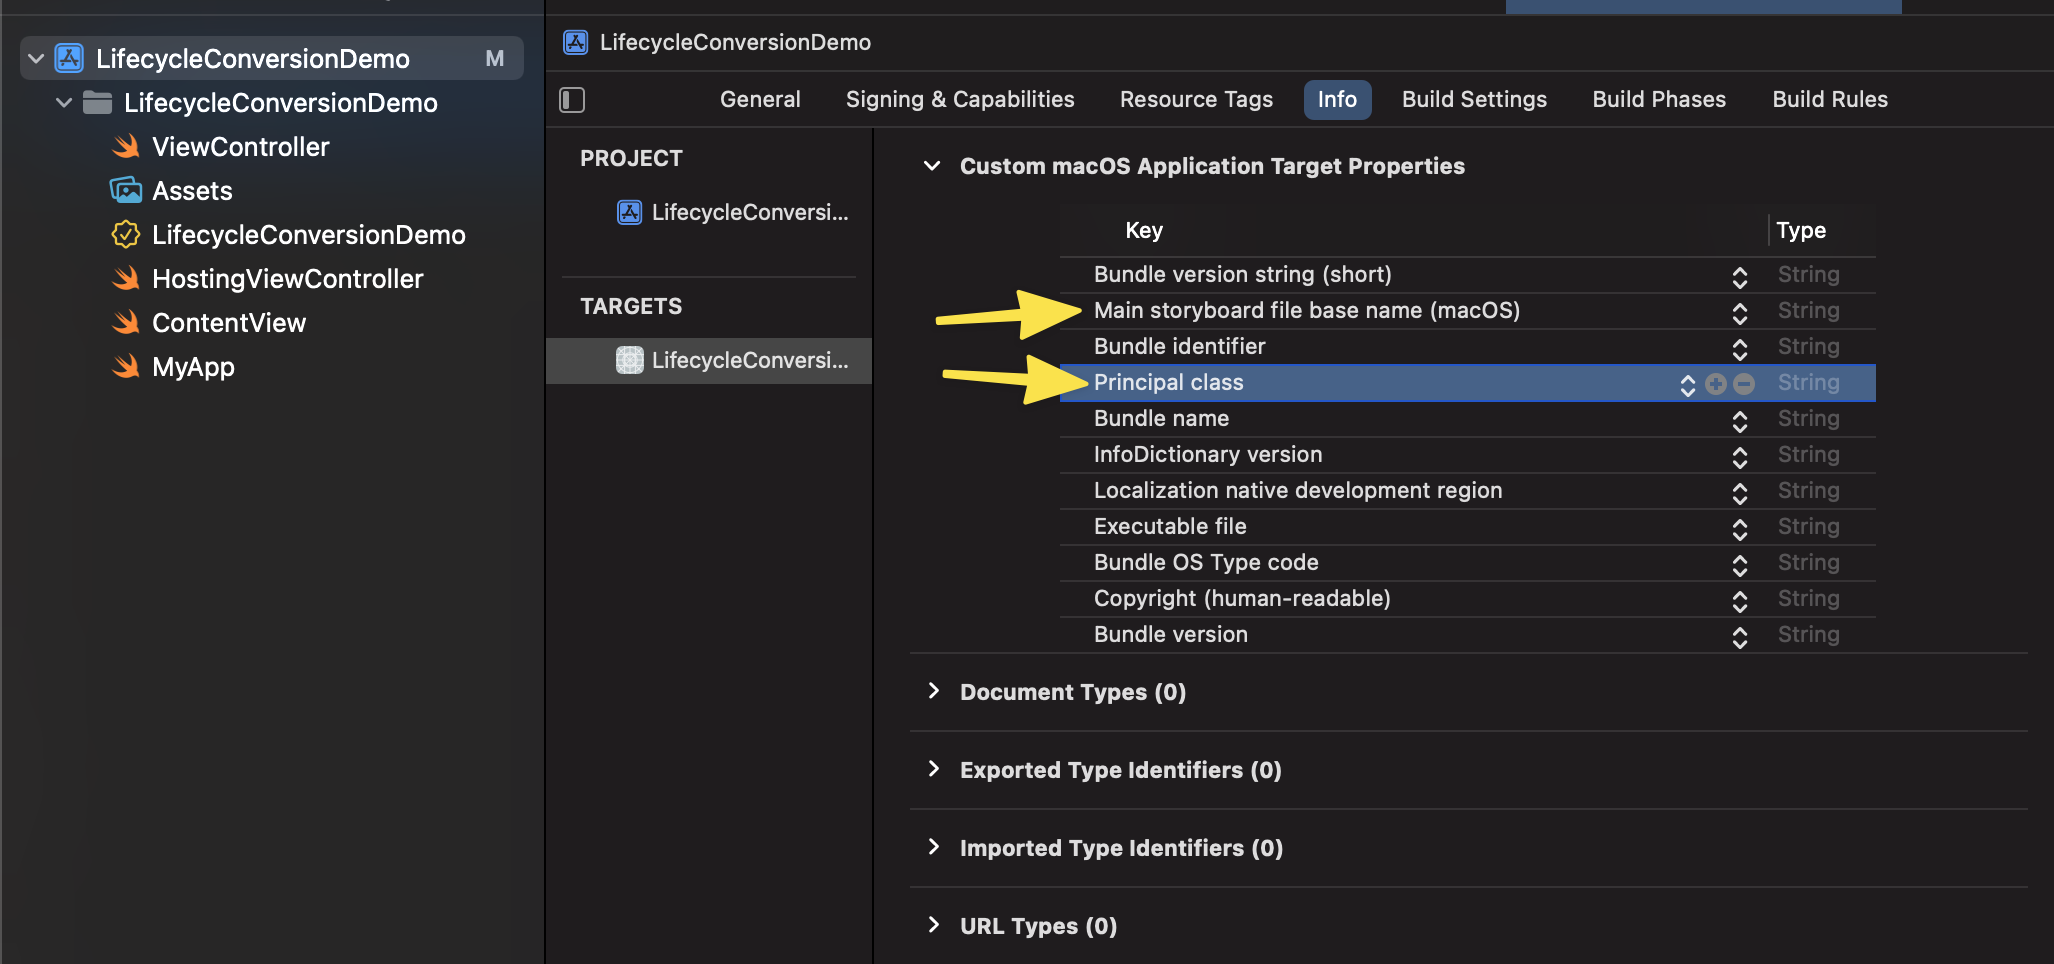
AppDelegate.swift(you can always add it back later if need to fall back) - Go to the
Infotab of your target and removePrincipal classandMain storyboard file base name (macOS)
We're done
And there we have it. What you just did here is no small step, even though it just took you a few minutes. You just left the 30+ years paradigm of the Interface Builder.